Equipment
- 4L glass jar
- Elastic band
- Cheese cloth (or similar)
- Clip-top bottles
- Wooden spoon
- A warm dark place to ferment
- A funnel
Ingredients
- 2-3L of tap water (distilled if your tap water has a taste)
- 1 ripe pineapple
- 1 cup of piloncillo (preferred) or brown sugar
- Optional spices (for your first one, I wouldn’t use any, to get a baseline)
- 1-2 cinnamon sticks
- 1-2 cardamom pods
- A couple whole black pepper kernels
- Some fresh chopped ginger (to taste, but up to 2 full roots)
- Backup: packaged yeast
Recipe
Setup
- Make sure that all of your equipment is super duper extra clean!
- We don’t want any mould growing in there
- Dissolve sugar in warm water in the glass jar
- NOTE: you can add more or less sugar, but more doesn’t necessarily mean sweeter! Remember that fermentation is the conversion of sugar to alcohol. You can get this pretty goddamn boozy if you let it ferment long with lots of sugar (I did this by accident once — delicious but definitely couldn’t walk in a straight line)
- Add any spices/flavourings
- Prepare pineapple
- Cut top-to-bottom (“the long way”) into quarters
- Remove the core (it can add a wooden taste)
- Remove any brown bits if it’s overripe
- Cut into ~2cm cubes, keeping the skin
- (You can remove the skin but it’s where the natural yeast is)
- Add the pineapple cubes/wedges to the jar
- Fill the jar with water, leaving a few centimeters of empty space at the top
- Affix the cheese cloth to the top with the elastic band
Primary Fermentation
- Put in a warm dry place overnight
- Twice a day, remove the cheese cloth and give the mixture a really good stir
- Clean up the rim afterwards, otherwise this can quickly become a fruit fly magnet
- After a day or two, you should see small fermentation bubbles appear throughout the jar
- If not bubbles after 3 days, either start over (maybe make a starter with a smaller amount), or add your backup yeast to get things started
- Also: it’s possibly not warm enough in that location
- I sometimes store it over the dishwasher, which gets pretty warm while running.
- Also: it’s possibly not warm enough in that location
- If there’s ANY mould, toss it and start over. It’s not worth the battle and risk. It’s just a pineapple.
- If not bubbles after 3 days, either start over (maybe make a starter with a smaller amount), or add your backup yeast to get things started
- After a few days of fermentation (you should feel light champaign-like bubbles on your tongue if you taste some), move to secondary fermentation
Secondary Fermentation
This phase carbonates the tepache. You can skip it, but it’s much nicer carbonated.
- Strain out all of the solids
- First through a mesh to get the big stuff, and then through a clean cheese cloth
- DO THIS STEP FIRST
- If you bottle as you go, you get a very different product from the top vs the bottom of the jar
- Funnel the resulting yellow/brown liquid into the clip-top bottles
- Close the clips and put back in the warm dry place
- Several (1-4) times a day (depending on how active the fermentation is, gently open the clip to let excess out. This is called “burping” the tepache.
- If you skip this step, the bottle may literally explode
- If you need to slow down fermentation, cool it down in the fridge!
- Test it from time to time by cooling a bottle for a few hours and tasting the level of alcohol and carbonation
- Too dry? Add more sugar!
- Neither bubbly nor sweet? Add more sugar!
- Too sweet? Leave it longer!
- You can get it super dry like champaign, but most people like it on the sweeter side
- When you’re happy with it, chill and serve :)
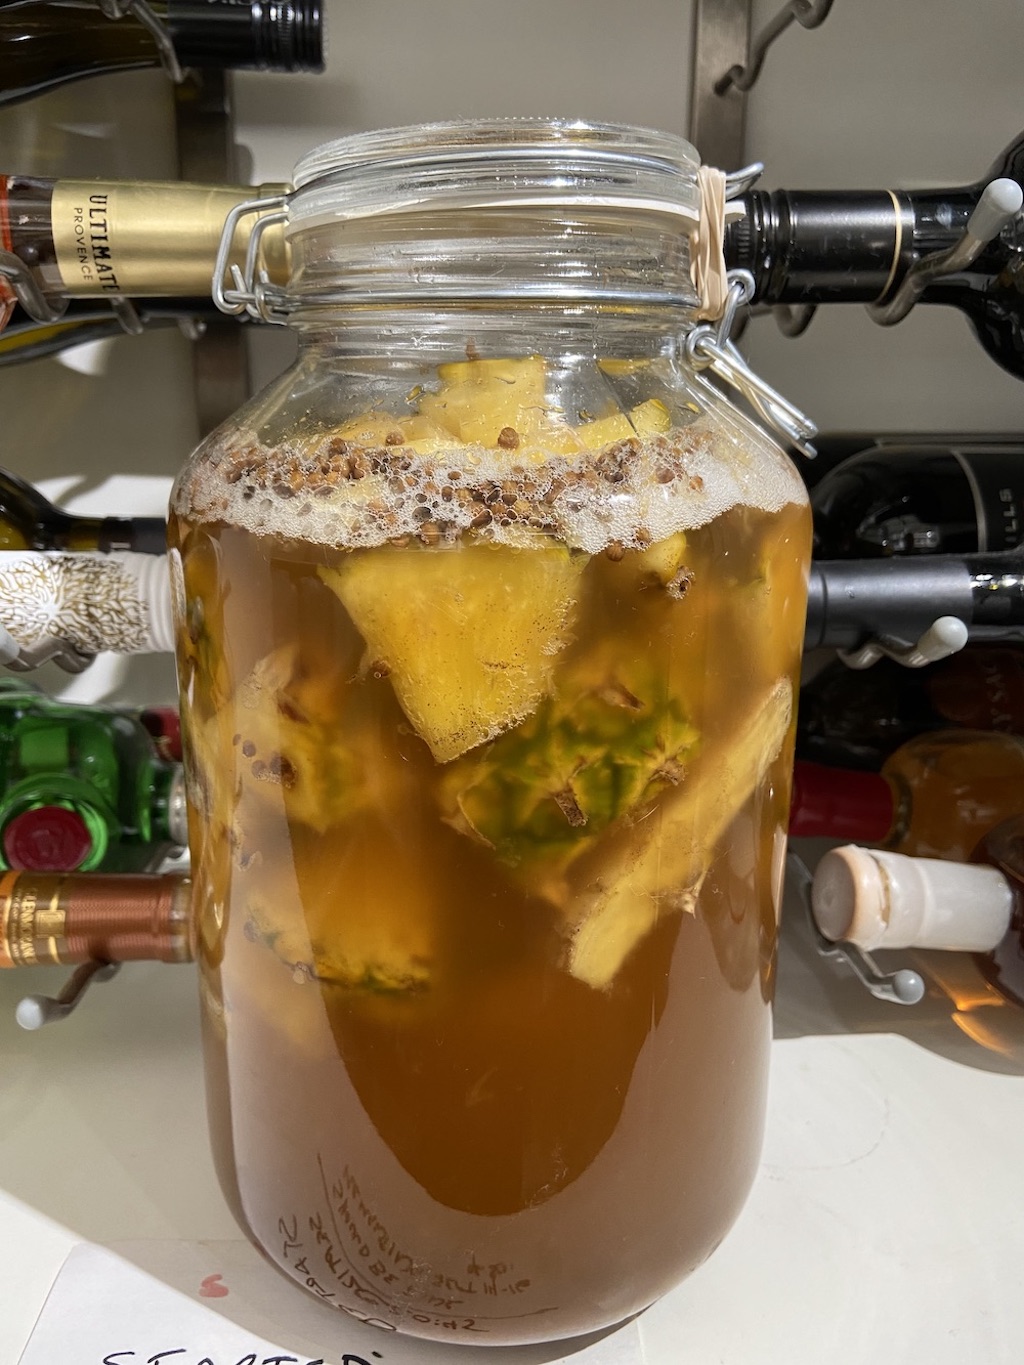
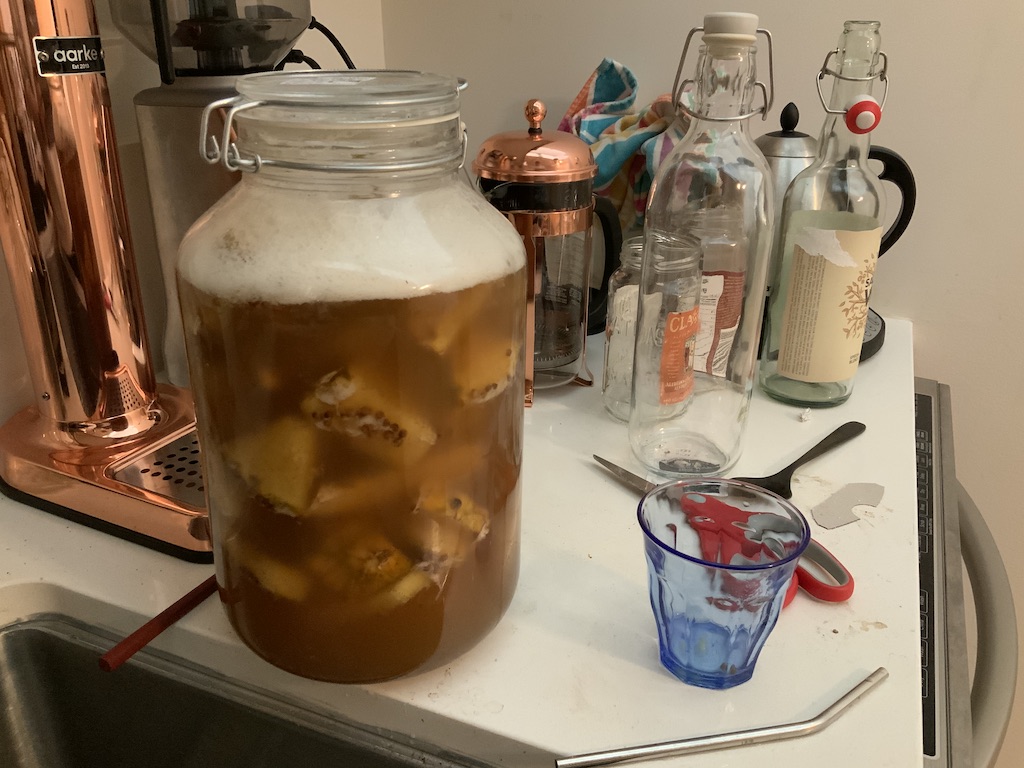
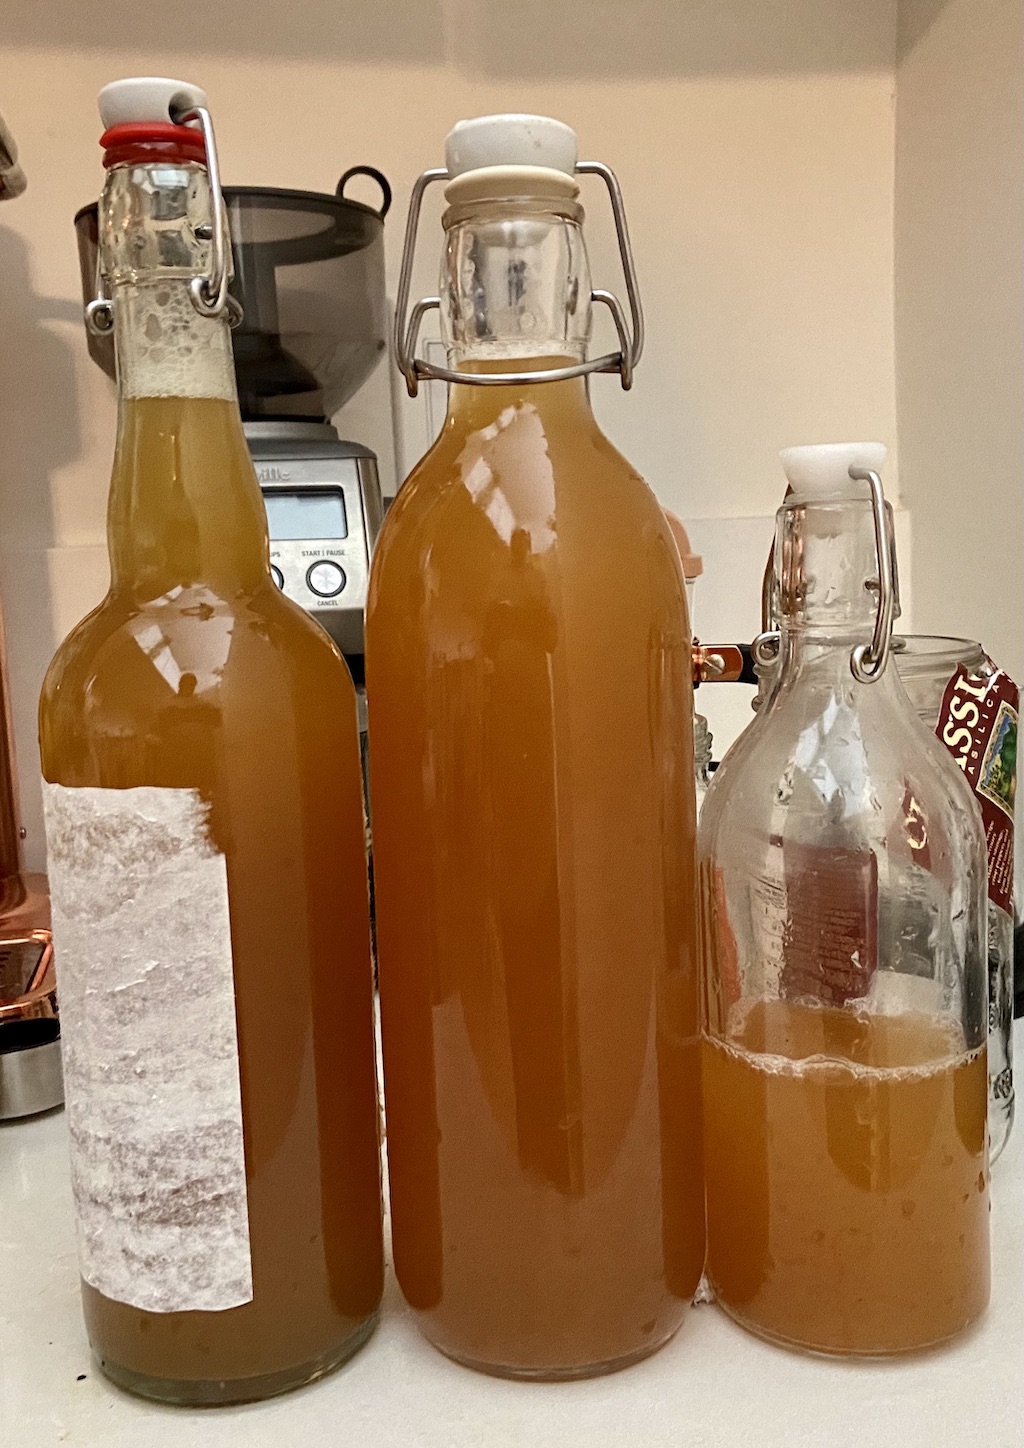
Lifecycle of a Tepache Brew
Ignore what I’m doing with the lid here, these are photos of my very first brew.